This past week I’ve made it my goal to get back to using Sketchup because we should be meeting with the builder this month! We reread our email, and they did say early November, so it could be any day now… Plus, this software is over $300 each year, so I better make sure I’m using it!
I love to use Sketchup to try out different finish ideas, especially since I learned how to import my own materials from real stores like Tilebar, Floor and Decor, etc. It makes it easier to see how different materials will work together in your design. I also love to use Sketchup to just scratch the itch of building custom pieces. If this house were a one and done and the last house I’d design, I’d be so sad because I really enjoy playing around with different looks! But I know we’ll always have a project on our mind whether it be in our dream house, during my bucket list goal to flip a house, or when we build our small house on a hill that can be a luxe getaway cabin (dream big!).
Either way, today I have two fireplace renders, a tiny entryway render update, and two vanities to share with you. Let’s get to it!
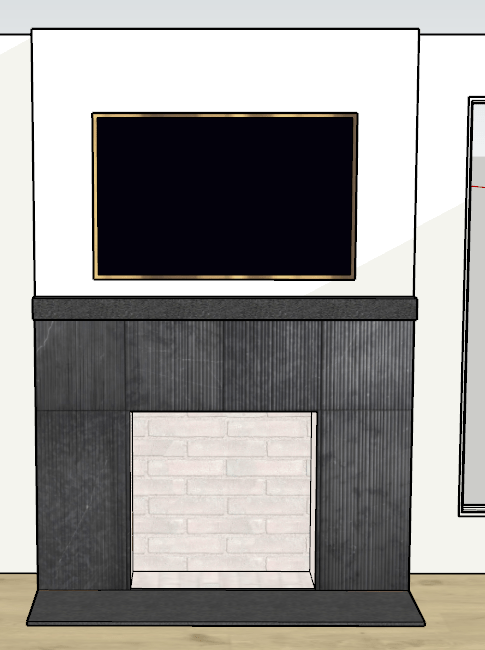
Potential living room fireplace
I’m trying to prepare as much as possible for our build since it could be starting before our baby is born and our baby is due in less than 5 months! What!! I feel like we’re asking for a lot of space for our budget, but it’s also so hard to compare because we’re in small town Iowa and own our land. There’s not really much I can do to prepare for the square footage cost conversation, but I can take a look at those pieces of our house that were tagged ‘do later if too expensive’ and refine those budget-friendly options a bit.
As you may know from our other posts, we wanted a slab fireplace, think dramatic marble veining and thick stone. Sounds expensive right? I know! But we didn’t think we’d be able to do that in our initial build or even the first five years. So what do we do in the meantime? Well, Brandon wants a wood burning fireplace (so no glass) but hooked up for gas in case we want to use that later on. This means we need to have fire/heat/ash safe materials around the fire box. So just having drywall around the box was out. If we were going to have to tile the surround and hearth, we didn’t want it to be something we didn’t like for the next 5-10 years. This led me to Tilebar!
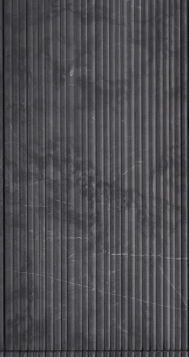
I’m a sucker for fluted or reeded marble, just check out my blog’s name! I never thought I’d have a good use case for this expensive tile, but a fireplace is the perfect application because you really don’t need much material. This tile is $30 per square foot and 12″x24″, and our rendered fireplace is 5’x4’6″ with a 3’x’3′ box. With just tiling the face, we’re looking at 13.5 square feet for the sides and 4.5 square feet for the top. Total this is 18 square feet, add 10% for waste and you’ve got about 20 square feet, which times cost per square foot, you’re at $600 for tile surround cost. Now that’s much better than the cost you’d pay on a slab! Installing tile is also much less expensive than fabricating and installing stone slabs.

This tile is $7.30 per square foot (or $19.49 per piece) and would be along the hearth. The tile comes in 24″x16″, which is perfect for the 16″ width of the hearth. You’d need three tiles so a total tile cost of $60 for the hearth. If you combine the hearth and surround, you have a total of $660. Not bad at all!
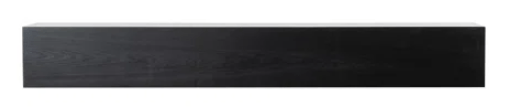
As far as the mantel goes, we’re not totally sure what we’d like. I think we’d both be happy with a charred or black stained wood. We weren’t planning on going so dark overall with the fireplace until we realized we needed to balance the black in the kitchen. Overall, I’m very happy with this fireplace look and if we did it, it’s possible we’d keep this look for many years to come.
Potential office fireplace
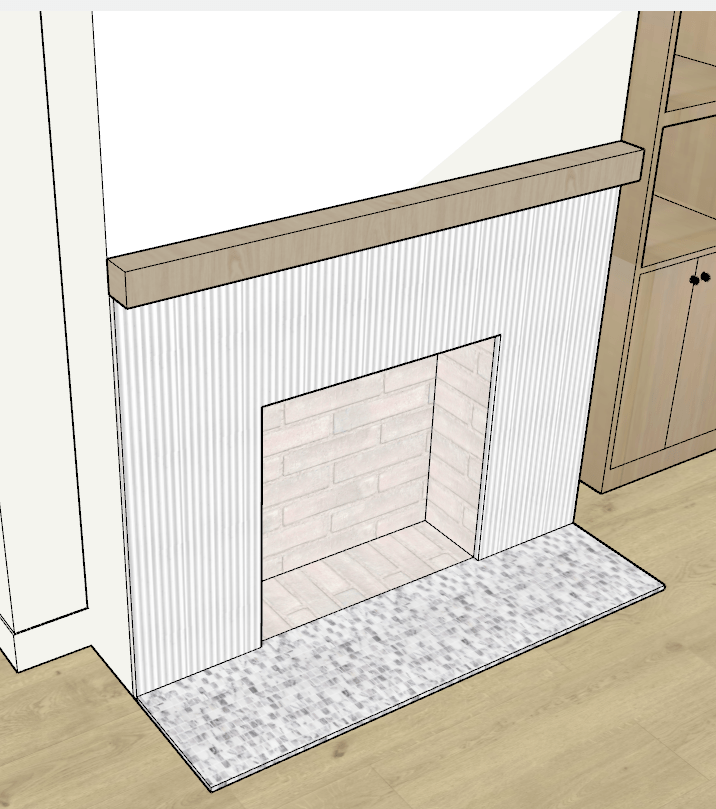
For our office fireplace, we were also itching for a slab marble look. Because this and the living room fireplace were planned to be similar, I just darkened the theme when finding some ideas for the surround and hearth.

This tile is $8 per square foot and 12″x36″. With the same fireplace dimensions as the living room, we’d be looking at 20 total square feet again for the surround. This tile has about 14 square feet per box, so we’d have to get two boxes for a total of $228. Not bad at all!

This tile is so fun! It’s the priciest of the bunch at $32.50 per square foot. It comes in 1 square foot sheets, and while we just need 8 sheets (6’x16″), I’d round up to 10 just to make sure we get all that we need. This totals to $325 of hearth tile. Total for this fireplace would be $553 in tile costs!
My favorite part of this fireplace look is that it’s a Brandon approved recreation of one of my favorite (but there’s so many!) The Lifestyled Co designs I highlight in this post. I LOVE the shower with the white ribbed tile and checkered floor!
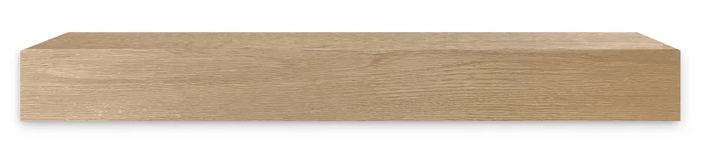
Finally for this fireplace, we’d just do a light oak mantel to keep it simple. I’m not sure where we’d buy one, but I linked this one from Etsy just to show the vibe!
Potential entry shelf
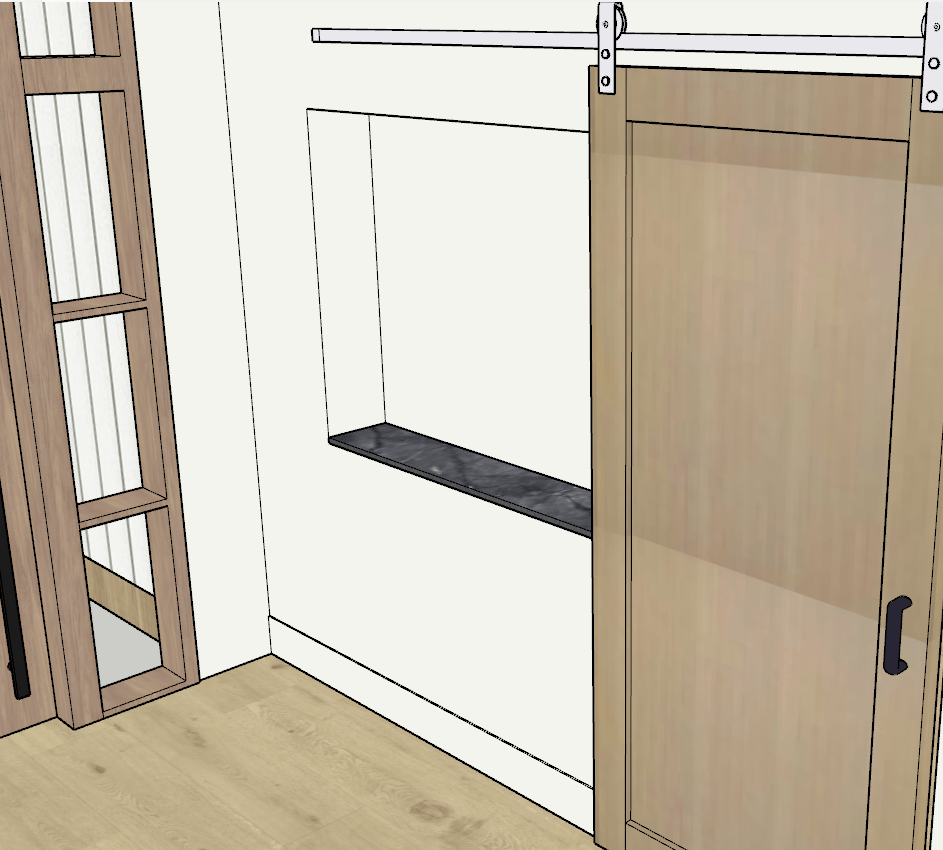
Another piece of our home design that had a ‘splurge or save’ selection was our entry way shelf. For splurge, we were thinking viola calcatta marble, but that was only going to be feasible if we found a remnant or had a leftover piece. Either way, it seemed like I should find a good alternative that we can just know works and is in budget.
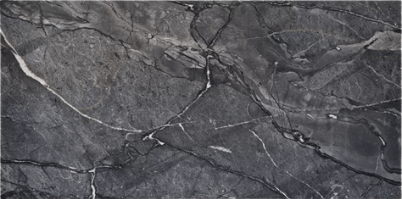
Laminate seemed like a good option, but I didn’t want a countertop thickness or to have to buy sheeting + plywood for just a small section. What ended up being the perfect option was this 48″ long tile we could just cut to the right width (maybe 9 inches?). This tile is less than $40 for the whole piece and with Floor and Decor, you can return any unused material within 90 days (if we had to buy a whole box).
This material is what’s plugged in my entryway shelf render now, and I think it fits perfectly!
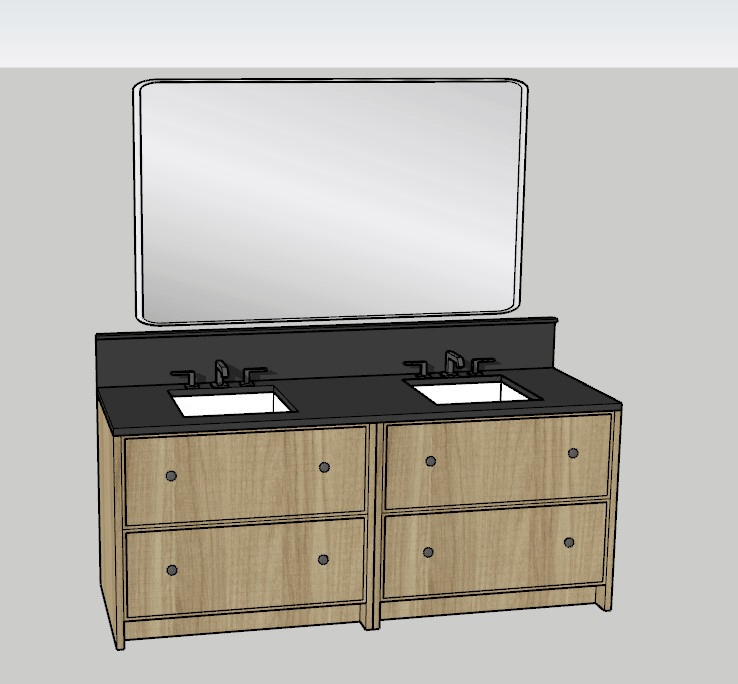
Just for fun: double vanity
Just for fun: single vanity
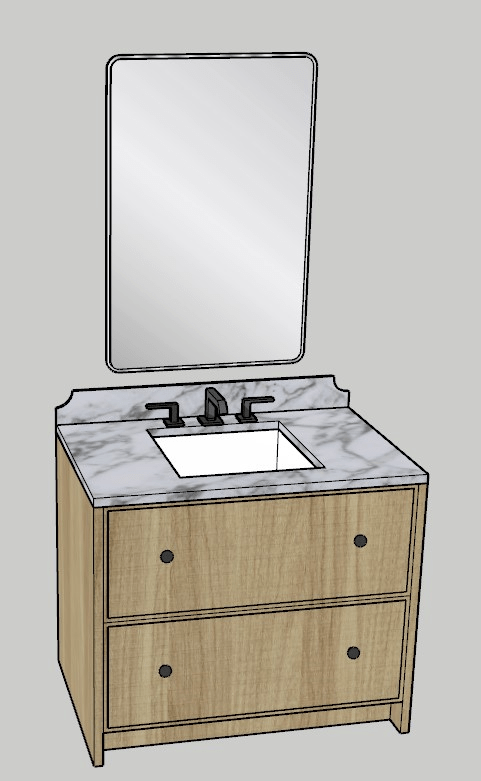
My *dream* is to custom design a bathroom vanity someday! However, I have really warmed up to prefab vanities for all non primary bathrooms. I know I seemed to state this as an option before, but it really wasn’t something I wanted to do until I realized I could circle back in 10-15 years and have the time of my life going the custom route. If I got started on picking the cabinetry and countertops for a secondary bathroom’s vanity now, I wouldn’t be satisfied with my choices until I got us way over budget! So I’m making the executive decision to hold off unless it’s somehow less expensive to build one, but even then I will stay within the price range that makes it stay the less expensive option. Until then, I will just have fun rendering my own designs, like these two vanities! Both of these vanities are very similar, and I actually just built the double vanity from the single if you couldn’t tell. I love how they look like a piece of furniture and like they have some weight to them.
For the double vanity, I had the boys’ bathroom in mind with the dark countertop. I personally love an extended backsplash, but don’t like how it makes the mirror placement higher. It’d be perfect for our boys’ bathroom because they don’t need to see long hair in the mirror or their outfit. Plus, having the mirror up higher means it’ll probably stay clean longer!
For the single vanity, I decided to add a cute scallop detail to the standard height backsplash and do a countertop with some marble veining. I had our guest bathroom in mind for this vanity, primarily because it’d mainly be used for washing hands and with the lower mirror, you or your guest could see more in the mirror (what if you sat on something at dinner or needed to see if your pants were splitting?!)
I definitely like doing these renders, and it feels like a productive alternative to scrolling on my phone (November goal!). I hope you enjoyed reading! As always, I hope to have real house build news soon!
Thanks for reading!
Davien

Leave a comment