We meet with the builder next week!! It’s been a year and a half since we last met with them, and we’ll finally go over our design and work on getting estimates so we can start building next year. We’re so excited! We think our plan is perfect, and it’s just a matter of making sure that what we’d like to build can be built and within our budget.
To help prepare, I’ve been working on gathering a list of all the materials we plan on using, details that we don’t want to miss, and I’ve also been ironing out those last fuzzy parts of our design. I’ve been regularly using my Sketchup again, and we actually got the design hooked up to the VR headsets, too. I absolutely loved walking through the design as if it were real, and there wasn’t a single thing that I wanted to change. (Besides re-rendering our stairs/basement – which we’ll do once we get the main floor approved!)
Now I’ll go ahead and show the five design elements that we’ve either firmed up or changed!
Patio door and window in living room –> two French doors

If you remember, we planned on having a symmetrical window and patio door in our living room flanking the fireplace. One thing we weren’t sure about was the price of a window that would be the size of a door, and we also weren’t sure if it made sense to make a fixed window go down to the floor.
While researching ideas on how we can make this a straightforward idea for the builder, I stumbled upon French doors that flank the fireplace. I really liked the idea, but we didn’t have room for double doors. Turns out, French doors don’t have to be doubles, they can be singles too! The great thing about having two patio/French doors is that we can switch up the furniture without worrying about closing off a route outside. If we go with outswing doors, we can try out a retractable screen and have both open in the summer without taking up interior space. Now while I like that idea, one thing I worry about is what if we need to quickly close our doors in case of an emergency like wandering bears or an intruder! We’d have to open the screen and pull the door in instead of just closing the door. I’ll have to think about it, but that risk is very low for all the pros we’d be getting.
Overall, we feel very good about having two doors in our living room. It’s much easier to estimate the cost of two patio doors than the price of one custom window that’s just made to look similar to a door. Plus, they’ll match!
Marble transition to primary suite

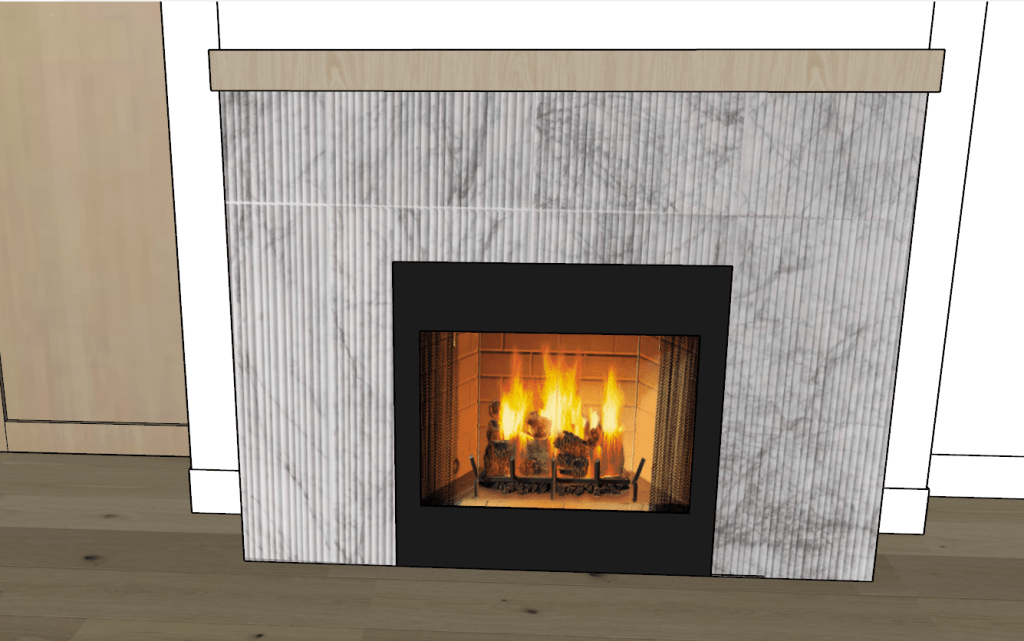
I loved this marble mosaic and was planning on using it for the office fireplace hearth. However, we found a gorgeous fluted marble for the office that looked so good next to the wood floor, that we decided to make that fireplace gas so it wouldn’t need a hearth. Plus, it was so pretty on its own, we didn’t want it competing with another material.
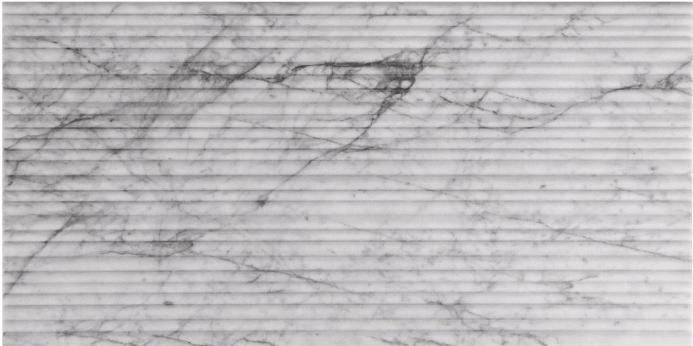
Here’s a render, but my sample is so much more beautiful in person.
My problem then was where do we use the pretty mosaic?! Well, that too looked so good next to the wood floor that we decided to see how it’d look as a threshold between the guest hallway and primary suite door! You’d just get a hint of it with the pocket door closed, and it’d look so pretty for those times the door is open.


What I love about custom designs like this is that they’re cheap in comparison to what you’re getting! This would require very little material and the labor shouldn’t be outrageous. Overall, you’re probably looking at $500 max for a fun customization like this.
Brick transition to mudroom, wood floor in mudroom
As you know, I had my eye on some UK sandstone that looked antique. It wouldn’t be that expensive really for such a small space, but I kept going back and forth on it due to the burden of importing it across seas (who even am I!).
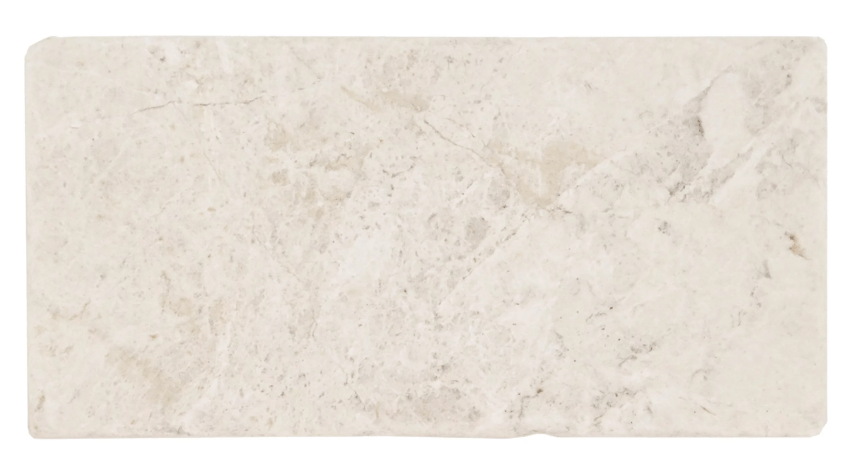
I had seen a similar-ish tile at Floor and Decor which was actually a creamy marble with tumbled edges. We picked up a sample last time we were there, and let me tell you, it’s so soft! I couldn’t stop feeling it! While we love how soft the marble is and how accessible it’d be, I just wasn’t sold on the scale of 3″x6″ tiles for our mudroom. It’s a small space, but I didn’t want a lot of grout lines or cracks that you’d step on.
While I thought I must have the look of beautiful European stone floors, I didn’t necessarily need them to be in this house. What’s been helping me put a pause on needing to do certain things in our forever home is the thought of doing them in a reno or a small cottage. What if our future cottage has sandstone or limestone flooring? With that in mind, I was happily able to decide to just put our same main flooring in the mudroom too. However, I still wanted to use that super soft limestone look marble!
Well, I remember seeing in the #PVVistaBuild by TheLifestyledCo that they put bricks over thresholds and it turned out so nice.
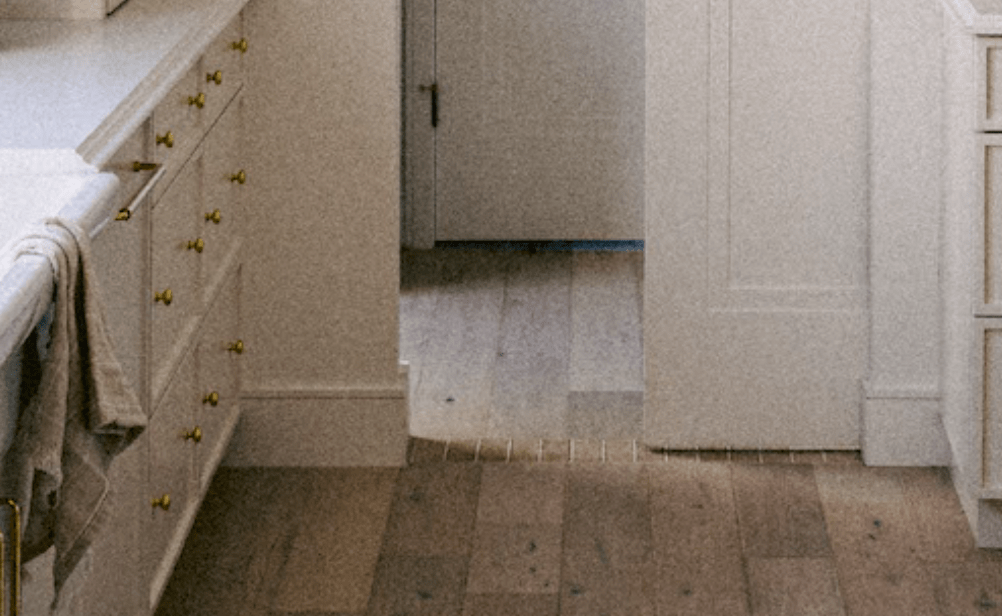
I then rendered these marble 3″x6″s and loved the subtle look of a “brick” threshold offering just the slightest change between the entry and mudroom. I was worried about the office door not looking symmetrical with the mudroom door, but their walls are already a little different with the entry having a built in console and lighting.
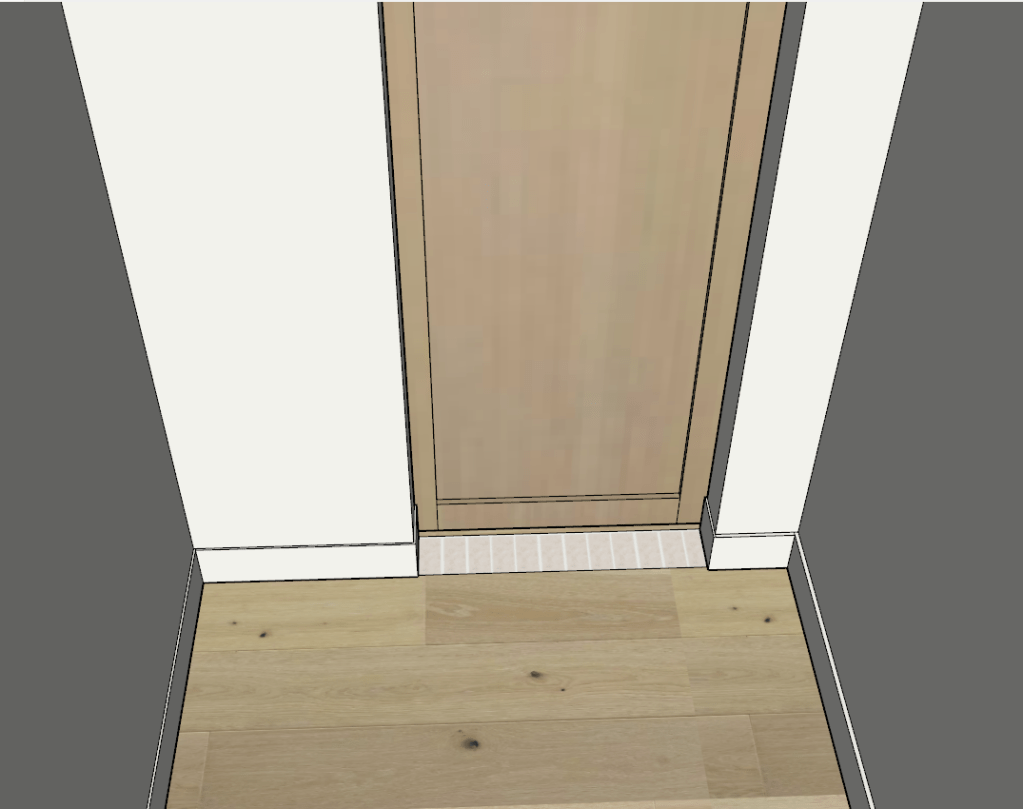
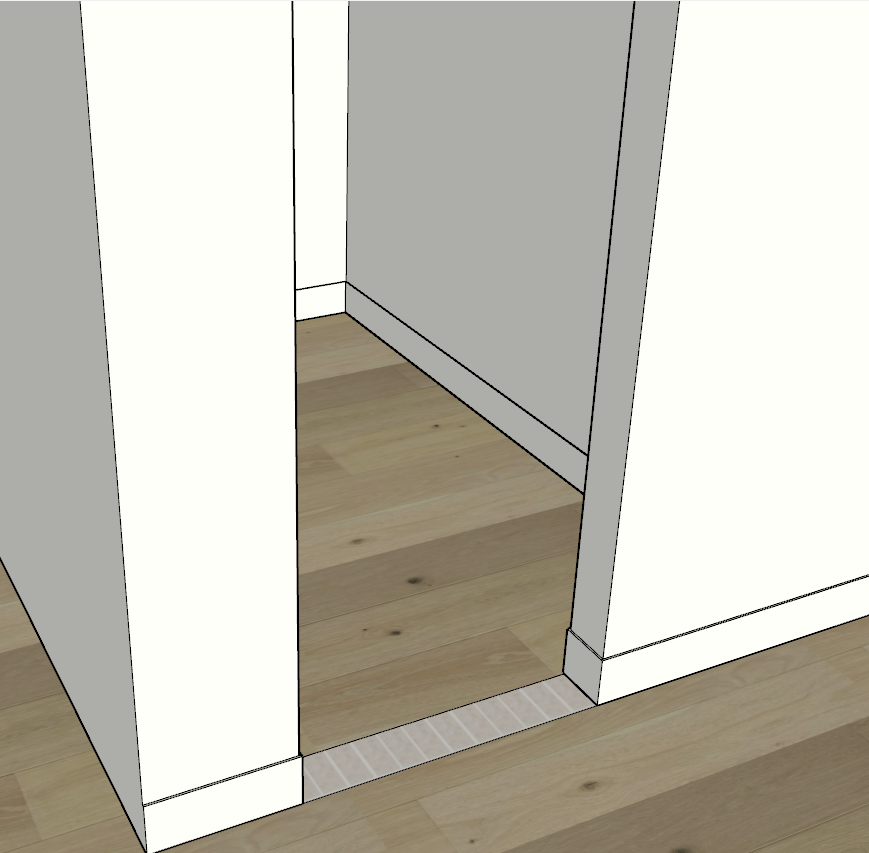
Here’s how it would look with the door open (well, hidden LOL). I just love how subtle it is, and it signals the mudroom as a separate space from the rest of the main floor, just like the primary suite threshold does (Brandon noted this!).
Beams, tray ceiling in living room
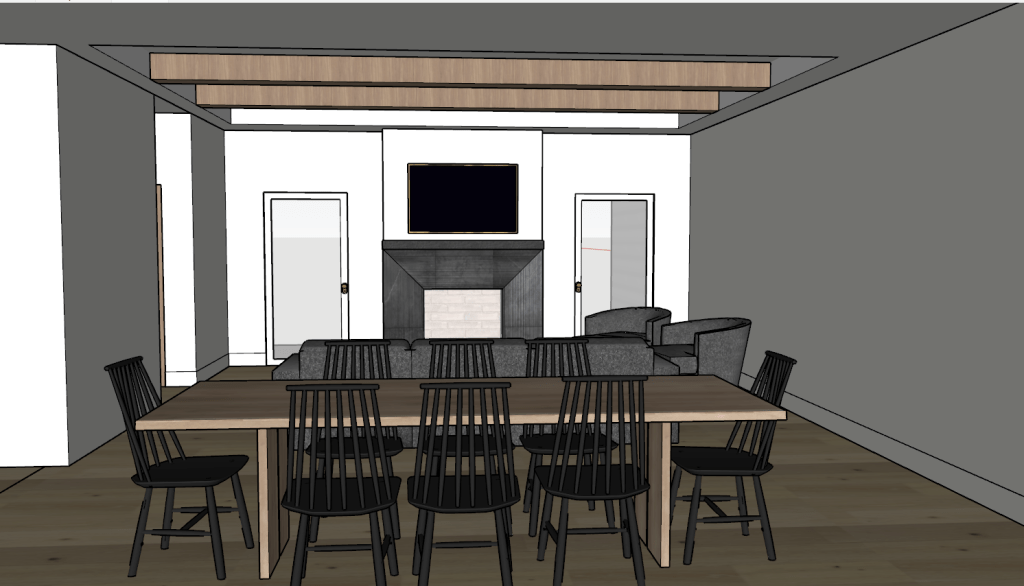
I’d been debating on whether we add a tray ceiling in the living room to give a light fixture more space to hang and not block the tv. When I finally rendered it, I loved the look!! I loved how it took a long open living space and broke it up visually. With such an expanse of white walls, I also felt that we needed a little more warmth in the living room, especially with the dark fireplace and likely dark furniture. When I rendered beams in the tray, it seemed like the wood tone versus white really did a lot for the space. The beams also drew attention to the shift in ceiling.
Rendering different light fixtures to scale did help us decide that a hanging light fixture would just be too low to not risk blocking our view of the tv. I think we’ll most likely just do recessed lighting in that room (our current living room has 0 lights! No cans, no fan, not even a boob light!) for when we need extra light for puzzles or games. I’m still up in the air with a ceiling fan, so far we’ve managed without pretty well and it does mean one less thing to dust.
Pendants over the dining table
We’d previously had a more linear chandelier rendered above our dining room table, but I just didn’t like how it blocked the view of the TV from the kitchen. I don’t think we’d get much value out of seeing the TV from the kitchen, but it was more about the silliness of building in a blocked sight line.
Since I’d finally taken a stab at rendering our kitchen pendants to scale, I found that three looked best. With three little pendants above our island, I thought hey, why not try out two of a bigger pendant for our table? They wouldn’t overlap visually, and it might actually give a better view of the living room focal point.

It worked, and I love it! Visually there’s no crowding. I actually rendered this pendant to the best of my ability, and would love to actually get a pair for the new house:

Those have been all of our recent design changes/clean ups! We are so, so, so excited to meet with the builder. I’m also a little bit nervous! I told Brandon I’m more nervous about how the builder meeting will go than my own labor/delivery next spring! I think a lot of my nerves come from the fact that I’ve never designed a house, so I have no idea what to expect in terms of price or what is feasible. I’ve done a ton of research, but that can only get you so far. When I look at new houses on Zillow, it’s hard to translate price differences when there’s no design like ours and we already have our land paid off.
Either way, we’ll sit tight for that first design meeting, and I can’t wait to update you with how our builder meeting goes!
Thanks for reading!
Davien

Leave a comment